Monday 27 July 2015

Strobing Makeup Look

  For over three years, contour has been everywhere - there are Kim Kardashian makeup looks on every beauty guru's YouTube channel, contouring kits have been making their way onto every high street and drugstore shelf, and into the makeup collections of anyone with a love of beauty or fashion. Whereas contouring is quite a heavy, full-face makeup look, many designers have opted for clean, fresh faces on their runways for the most recent Fashion Weeks. Strobing has taken over, and is only going to get more and more attention. But what is strobing?
  Strobing, in short, is just highlighting! No bronzer or contour is needed, and it's best worn with full eyebrows, and clean eye makeup - even without mascara, in a lot of cases. I'm going to show you how I wear strobing as an everyday look.
  I start off by using the That Gal brightening face primer by Benefit, to give that 'light from within' look.
 I then take a beauty blender (this one is just from Penneys) and dampen it by spraying some Tea Tree Water from Lush onto it. I find that beauty blenders work so much better damp!
  I then blend some of the Wake Me Up foundation from Rimmel into my chin, forehead and around my nose, just to give some light coverage. This foundation is brilliant for a lightweight makeup look, as its really moisturising.
   Under my eyes I'm using Touche Eclat from YSL, which is slightly peach toned, to cover dark circles. I also use some of this down the bridge of my nose, and on my brow bone.
   My go-to concealer for blemishes is the Collection Lasting Perfection concealer, and I place that on any troublesome areas.

 To brighten my cheekbones, I apply some of the Urban Decay Naked Skin foundation, as the shade is too light for me right now, but works great to highlight!
 To set the concealer under my eyes, I use the brightening yellow-ish shade in the SmashBox Contour Palette.
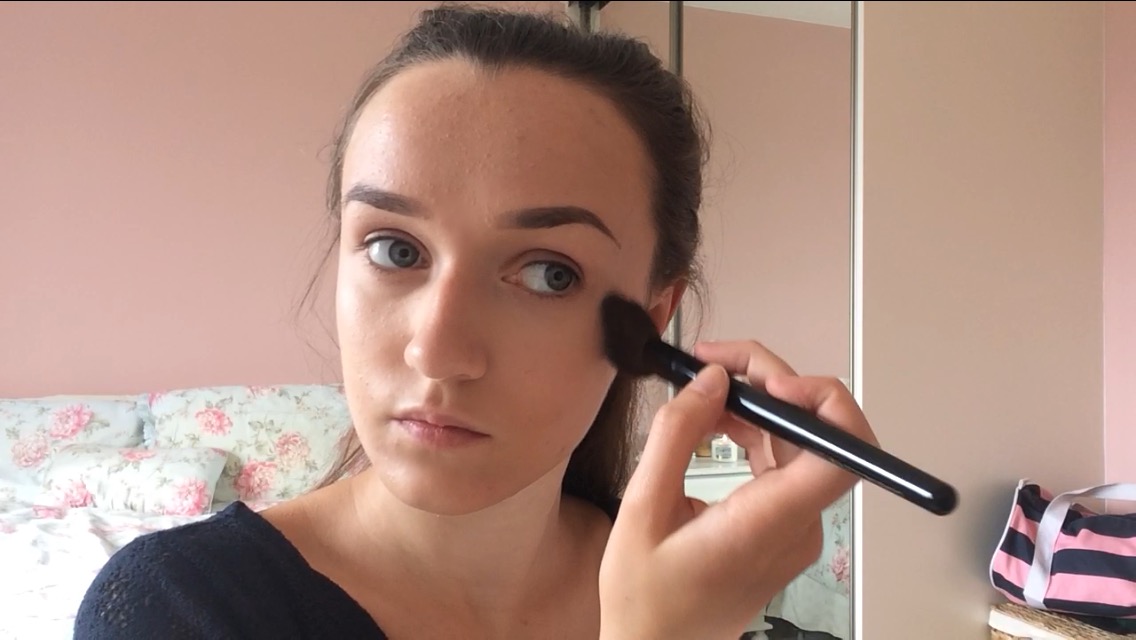
 Now for bit that makes all the difference. Taking the highlight shade in the Urban Decay Naked Flushed palette, I highlight along my cheekbones, under my eyebrow, above my eyebrow, in my inner corner and along my tear duct, down the bridge of my nose, on my cupid's bow, under my lips, and on my chin. Wow, that's a lot of highlighting!
Then, to finish off the look, I use a sweep of mascara and lipliner, and I'm done!

And here's pictures of the finished look! 

I hope you enjoyed reading, I'll have more posts coming soon and will be adding a list of the products I used!
                                Sarah-Rose x

New Instagram!

   This is just a short post to let you know that I've finally created an Instagram and specific email address for this blog! 

   My new Instagram is here, I'll be posting some non-blog-related pictures, but most photos will be from this blog/updates to do with blog posts. I'd love if you could follow me on there, and I'll be following back!

  I also now have an email that you can contact me on, which is sarahroseveronica@gmail.com, so if you have any enquiries about products or anything else, you can email me!

  Thanks for reading, 
                                 Sarah-Rose x